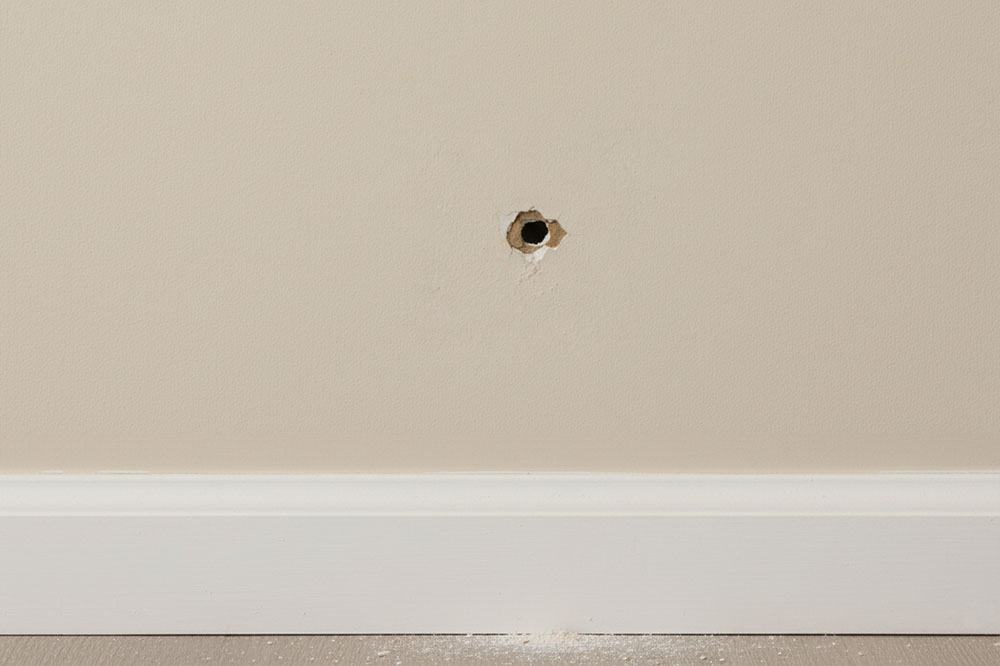
You spot it every time you walk past. A tiny crater, or hole, in the wall, catching the light, tugging at your eye. It doesn’t matter that it’s only the size of a coin. Once you notice a hole in plasterboard, it starts to gnaw at you. The good news? You don’t need a trade van or years of practice. A simple DIY plasterboard repair will make it vanish. And you can do it yourself, and the fix is far simpler than most people expect.
This article will walk you through step by step how to fix a small hole in plasterboard without any experience. From nail-sized blemishes to small gaps left by a clumsy door handle, you’ll learn the practical methods, the gear worth grabbing, and the small mistakes to avoid. The aim is simple: get your wall looking smooth again without stress, without wasted money, and without needing to call in a pro.
What you’ll need
The tools are basic:
- Putty knife or filling knife
- Fine-grit sandpaper (around 120–220 grit works best)
- A damp cloth for wiping dust
- Paintbrush or roller
The materials are just as simple:
- Pre-mixed filler or spackle for tiny holes
- Lightweight joint compound for anything larger
- Optional self-adhesive mesh patch if the hole is over 2 inches across
- Primer and matching paint
Everything on that list can be found in the DIY aisle of your local shop, making plasterboard hole repair inexpensive and accessible for beginners. None of it breaks the bank.
Fixing very small holes (nails, screws, dents)
Start by cleaning up the area. Loose paper fibres or dust will stop filler from sticking properly, so run the edge of a knife lightly around the hole and brush away the debris.
Scoop a small amount of plasterboard filler onto your knife and press it firmly into the hole. Don’t just smear across the top. Push it in. That’s how you stop it collapsing later. Once the hole is full, scrape the excess away by holding the knife flat against the wall.
Most lightweight fillers dry in about 30 minutes, though some take longer. A handy trick: some brands change colour as they dry, which saves you guessing. When dry, sand gently with fine-grit paper until smooth. Wipe away dust with a damp cloth.

Finally, prime the area before painting. If you skip primer, you risk a shiny patch or uneven absorption. That’s why you’ll sometimes see a ghost of the repair under fresh paint.
Fixing small to medium holes (up to about 3 inches / 7.5 cm)
A dent the size of a fist can’t be patched with filler alone. It needs a little reinforcement. That’s where self-adhesive mesh or thin metal patches come in.
First, neaten the edges of the hole so the patch sticks cleanly. Press the patch over the gap. It becomes your backing.
Now spread a thin layer of joint compound over the patch. Feather the edges: apply more pressure as you move away from the centre so the compound thins into the wall. Let it dry fully. This can take hours.
Once dry, sand lightly. Apply a second coat if the mesh is still visible, feathering out wider than before. Dry, sand, wipe clean. Then it’s ready for primer and paint.
The reason for feathering is simple: walls are unforgiving. A thick, lumpy edge will catch the light and look worse than the hole you started with. Gentle blending is the secret to invisibility.
Mistakes worth avoiding
- Overfilling: Piling on filler wastes time. You’ll only sand it back off.
- Rushing the drying: If you sand too early, the surface crumbles and leaves pockmarks.
- Skipping primer: Fresh paint soaks in unevenly and reveals the patch.
It’s tempting to rush because the repair looks nearly done, but with plasterboard repairs patience is the difference between a flawless patch and a visible scar.

Quick tips for a better finish
- Use fine-grit sandpaper to get the area flush. Coarse grits leave scratches.
- Keep a small tester pot of wall paint for touch-ups. Even a near match can betray a repair.
- If you don’t have leftover paint, take a chip from an inconspicuous spot to the DIY shop for colour matching.
I once fixed a hole for a neighbour who thought he could “eyeball the colour”. The patch ended up looking like a spotlight on the wall. We had a laugh, but he learned: never guess paint shades.
When to call in a professional
If the hole is bigger than 4–5 inches (10–12 cm), you’re into cut-out territory. That means installing a backing piece of plasterboard and finishing it flush. It’s doable, but if the damage is extensive or the wall shows signs of cracking or structural strain, a professional will save you frustration.
So there it is: nail holes vanish with a dab of plasterboard filler, coin-sized gaps disappear under a plasterboard patch, and a little sanding and priming ties it all together. You don’t need fancy tools, you don’t need experience, and you don’t need to stare at that ugly mark every day.
If you’ve got a wall staring back at you with a hole in it, grab the knife, grab the filler, and take ten minutes to fix it. Next time you walk past, you’ll notice something different: nothing at all. Smooth wall, no nagging eyesore, job done.
Tags: plasterboard repair, plasterboard filler, plasterboard patch, how to fix a plasterboard hole, diy plasterboard repair, repair small holes in plasterboard, fix plasterboard wall holes, plasterboard repair for beginners, MG0351